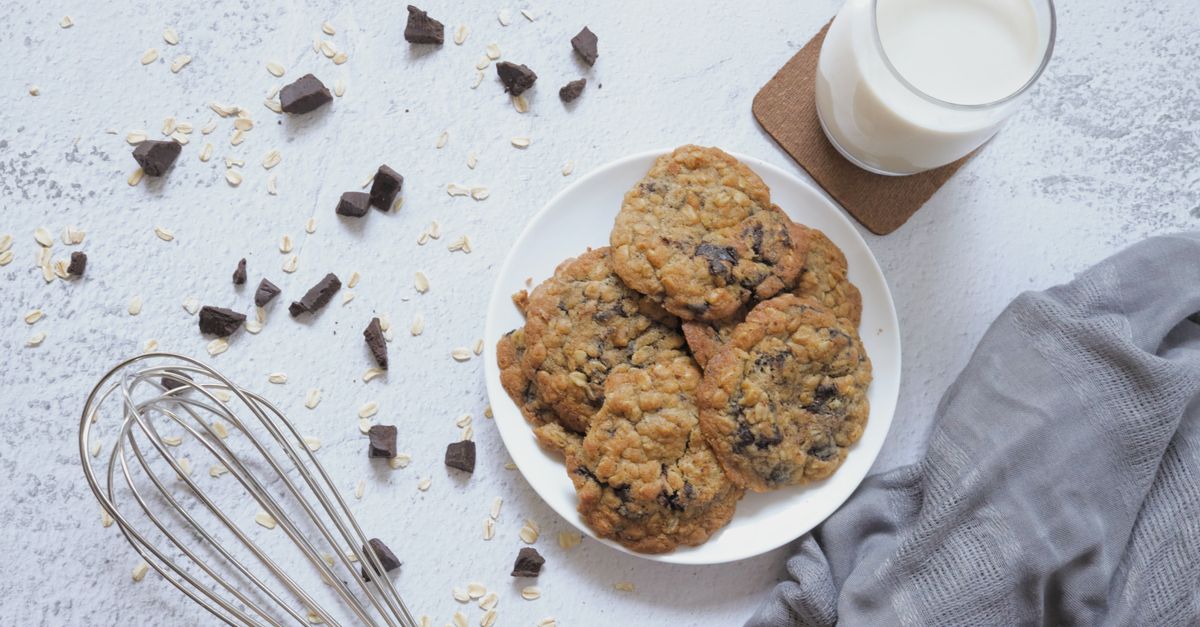
Why Your Homemade Cookies Are Flat (And The Simple Fixes That Guarantee Perfect, Puffy Results Every Time)
There’s little more disheartening than pulling a tray of cookies from the oven, eagerly anticipating those golden, slightly crinkled, perfectly plump discs, only to be met with flat, greasy, and brittle puddles. You followed the recipe! You measured carefully! Yet, somehow, your cookies spread out into a sad, thin pancake instead of holding their glorious shape. I’ve been there more times than I care to admit, staring at a cooling rack filled with disappointment instead of deliciousness. For years, I blamed my oven, my baking sheets, or even the phase of the moon. What I eventually learned, through countless batches and a deep dive into the science of baking, is that the culprits are often surprisingly subtle, and the fixes are remarkably simple. It’s not about being a pastry chef; it’s about understanding a few critical, often overlooked details that can transform your cookies from flat to fantastically puffy every single time.
Key Takeaways
- Ensure your butter and eggs are at precise room temperature for proper emulsion and structure.
- Avoid overmixing the dough after adding flour, as it develops gluten and leads to tough, flat cookies.
- Chill your cookie dough for at least 30 minutes to prevent premature spreading and enhance flavor.
- Use quality baking sheets and parchment paper, and space cookies generously to promote even baking and air circulation.
Your Butter Temperature Is All Wrong (And It Matters More Than You Think)
Most cookie recipes call for room temperature butter, but what does that actually mean? For many years, my ‘room temperature’ butter was either too cold (still firm, leaving chunks in the dough) or too warm (soft and greasy, practically melted). Both extremes are detrimental. Butter that’s too cold won’t cream properly with sugar, leading to a poor emulsion that traps less air. This trapped air is crucial for leavening and creating that airy, puffy texture. If your butter is too warm, it won’t hold the air you’re trying to incorporate, and it will melt too quickly in the oven, causing your cookies to spread prematurely.
The sweet spot for room temperature butter is around 67-70°F (19-21°C). It should be pliable enough that your finger leaves an indentation easily, but not so soft that it’s shiny or greasy. A good test is to gently press it: if your finger sinks right in, it’s too warm. If you have to exert significant pressure, it’s too cold. What changed everything for me was learning the ‘cut-and-wait’ method: take your butter out of the fridge and cut it into 1-inch (2.5 cm) cubes. Spread them out on a plate. Depending on your kitchen temperature, this usually takes 20-40 minutes to achieve the perfect consistency. Don’t microwave it; that’s a one-way ticket to melted butter disaster. Achieving this precise temperature ensures your butter and sugar cream together to create a light, fluffy foundation for your cookies, trapping maximum air for lift.
You’re Overmixing the Flour (And Activating the Enemy: Gluten)
When you add flour to your cookie dough, it’s a delicate dance. Most recipes will instruct you to mix “just until combined” or “until no streaks of flour remain.” The mistake I see most often, and one I made for ages, is continuing to mix beyond this point. Why is this so bad? Because flour contains gluten, and the more you mix it with liquid, the more those gluten strands develop. In breads and pizzas, gluten is your friend; it creates chewiness and structure. In cookies, it’s the enemy of puffiness.
Overmixed cookie dough develops too much gluten, which makes the dough elastic and tough. When baked, this elasticity resists expansion, preventing your cookies from rising and instead encouraging them to spread outwards into those dreaded flat discs. What truly changed my cookie game was learning to stop mixing the moment I no longer saw dry streaks of flour. Seriously, stop. It’s okay if there are a few tiny specks; they’ll hydrate during the resting period or disappear during baking. Use a low speed on your mixer for the final flour incorporation, or even better, fold the flour in gently by hand with a spatula. This minimizes gluten development, allowing the cookies to relax and puff up beautifully in the oven. This small adjustment is monumental.
Your Dough Isn’t Cold Enough (Or Not Chilled At All)
I used to be impatient. A recipe would call for chilling the dough for an hour, and I’d think, “What’s the worst that could happen if I just bake them now?” Flat cookies, that’s what. Chilling cookie dough is not an optional suggestion; it’s a critical step for several reasons, and neglecting it is a primary cause of excessive spreading.
First, cold butter takes longer to melt in the oven. If your dough is warm, the butter will liquefy almost immediately, causing the cookies to spread rapidly before they have a chance to set and rise. A chilled dough, however, allows the butter to gradually melt, giving the cookie structure time to firm up around the trapped air. This creates a thicker, puffier cookie. Second, chilling allows the flour to fully hydrate. This prevents excess spreading and, crucially, intensifies the flavors. The ingredients have time to meld, leading to a richer, more complex taste. In my experience, even 30 minutes in the refrigerator makes a noticeable difference. For optimal results, aim for 1-2 hours, or even overnight. If you’re really pressed for time, a 15-20 minute stint in the freezer can work in a pinch. Don’t skip this step; it’s a non-negotiable for perfectly puffy, flavorful cookies.
You’re Not Using Parchment Paper (Or Your Baking Sheets are Too Greased)
This might seem like a minor point, but the surface your cookies bake on significantly impacts their spread. Many home bakers still grease their baking sheets with butter or cooking spray. While this prevents sticking, it also creates a slick surface that encourages cookies to spread more rapidly and thinly. Think of it like a slippery slide for your dough.
What actually works for perfectly shaped cookies is parchment paper or silicone baking mats. Both provide a non-stick surface without the added grease, allowing your cookies to hold their shape better. They also promote more even baking and make cleanup a breeze. In my kitchen, I exclusively use parchment paper. I buy it in pre-cut sheets, which saves time and ensures a perfect fit. Another often-overlooked aspect is the quality and material of your baking sheets. Light-colored, heavy-gauge aluminum baking sheets are superior to dark, thin ones. Darker sheets absorb more heat, leading to overbrowning on the bottom and potentially contributing to rapid spreading. Invest in a good set of light-colored sheets and always line them. It’s a game-changer for uniform, golden, and proudly puffy cookies.
You’re Baking Too Many Cookies at Once (Or Too Close Together)
It’s tempting to cram as many cookie dough balls onto a single sheet as possible, especially when you’re baking a large batch. However, overcrowding your baking sheet is a surefire way to end up with flat, unevenly baked cookies. When too many cookies are packed together, they release steam and reduce air circulation around them. This creates a humid environment in the oven, which can prevent the cookies from setting properly and contribute to excessive spreading.
What changed everything for me was realizing that less is more on a cookie sheet. I typically bake no more than 8-12 cookies per standard half-sheet pan, depending on the size of the cookie. Ensure there’s at least 2 inches (5 cm) of space between each cookie dough ball. This ample spacing allows for proper air circulation, ensures even heat distribution, and gives each cookie room to expand upwards without merging into its neighbor. If you have multiple sheets, bake them one at a time on the middle rack, or if your oven has strong, even heat, rotate two sheets halfway through baking. This small but crucial step will deliver beautifully round, puffy cookies consistently.
Your Flour-to-Fat Ratio Is Off (Even by a Little Bit)
Finally, and this is a subtle point that often goes unnoticed, even slight inaccuracies in your ingredient measurements, particularly the flour-to-fat ratio, can lead to flat cookies. Many recipes assume a certain amount of flour will provide enough structure to counter the fat and sugar. If you have too much butter or sugar relative to the flour, the dough simply won’t have the structural integrity to hold its shape once the fat melts in the oven.
This isn’t just about sloppy measuring. It’s also about how you measure flour. Scooping flour directly from the bag with your measuring cup can compact it, leading you to use too much flour. Conversely, simply eyeballing or not leveling your sugar can mean you’re using too little flour relative to the sugar. The absolute best way to measure flour is to weigh it using a kitchen scale (a good investment, usually under $20). If you don’t have a scale, use the ‘spoon and level’ method: gently spoon flour into your measuring cup until it overflows, then use the back of a knife or straight edge to level it off. This ensures you’re using the correct amount of flour, which is fundamental to a cookie that holds its shape. Precise measurements, especially of flour and butter, are the unsung heroes of consistently puffy cookies.
Frequently Asked Questions
Why do my cookies look greasy and flat?
Greasy, flat cookies are often a sign that your butter was too warm, causing it to melt too quickly in the oven and spread. It can also indicate too much fat in your recipe or insufficient flour structure. Ensure your butter is at a cool room temperature (67-70°F), chill your dough, and measure flour precisely, preferably by weight.
Can altitude affect how flat my cookies are?
Yes, baking at high altitudes can definitely contribute to flat cookies. Lower atmospheric pressure causes gases in leavening agents to expand more rapidly, which can make cookies spread before their structure sets. Adjustments often involve slightly reducing leating agents, increasing flour, and sometimes reducing sugar and fat.
Does using baking soda versus baking powder make a difference?
Absolutely. Baking soda requires an acid (like brown sugar, buttermilk, or lemon juice) to react and produce carbon dioxide, which creates spread and tenderness. Baking powder is a complete leavening agent that reacts with moisture and heat. Using the wrong one or incorrect amounts can drastically alter cookie spread and texture. Follow the recipe’s specific leavening agent carefully.
How important is the type of sugar I use?
Different sugars impact texture. Granulated sugar promotes crispiness and spread, while brown sugar, with its molasses content, adds moisture and chewiness. A recipe using more granulated sugar might naturally yield flatter, crispier cookies, whereas more brown sugar generally results in chewier, slightly thicker cookies. Always stick to the sugar types and ratios specified in your recipe for intended results.
Should I let my cookie dough sit out before baking?
After chilling, letting the dough sit at room temperature for just 5-10 minutes can slightly soften it, making it easier to scoop and allowing it to bake more evenly without excessive spreading. However, avoid letting it warm up for too long, as this defeats the purpose of chilling. It’s a fine balance between too cold and too warm. Always aim for a firm but scoopable consistency directly from the fridge or after a very short rest.
Written by Chloe Davies
Home & Practical Skills
A creative professional, Chloe brings a practical eye to topics like home organization, simple living, and managing side hustles.
You Might Also Like
Why Your Homemade Soup Is Bland (And The Flavor Secrets That Changed Everything For Me)
Discover why your homemade soups lack flavor and the specific, actionable techniques that transformed my cooking, delivering restaurant-quality taste.

Why Your DIY Plant Food Fails Most People (And What Actually Works for Thriving Plants)
Discover why common DIY plant food recipes fall short and learn the targeted, effective strategies that guarantee flourishing indoor plants.

Why Passive-Aggressive Communication Undermines You (And How to Finally Master Directness)
Passive aggression feels like a safe option, but it sabotages relationships. Learn how to master direct communication and build trust.