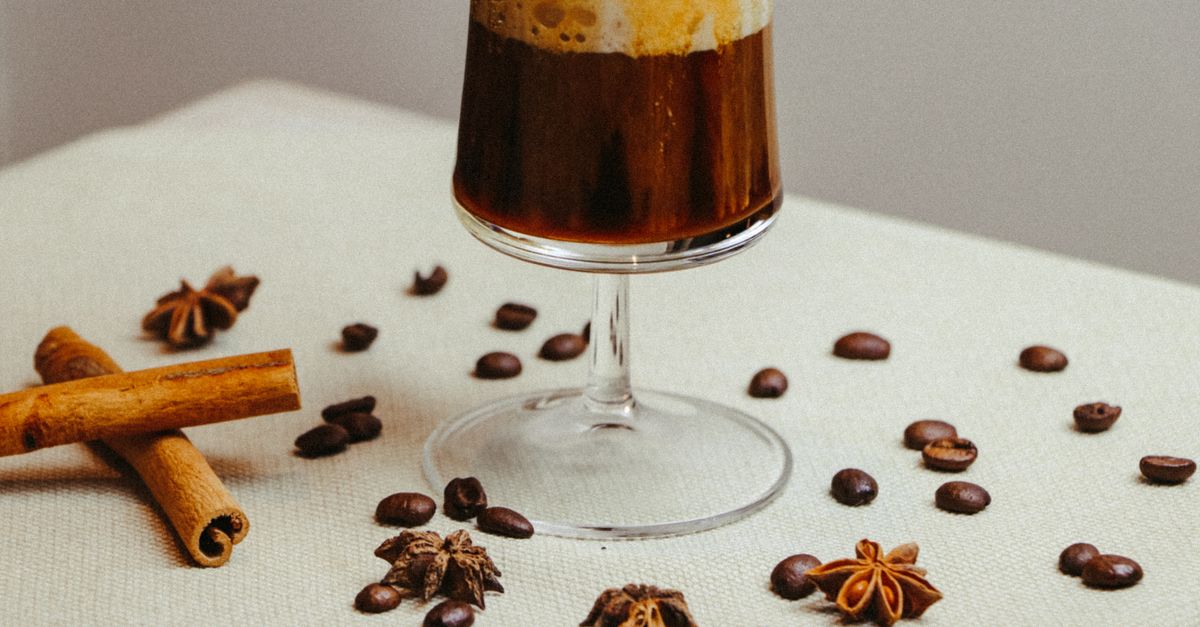
Why Your Homemade Cold Brew Is Bitter (And The Pro Secrets for Smooth, Sweet Perfection)
Making cold brew at home seems simple enough: coffee grounds, water, time. Yet, for many, the results are consistently disappointing – a bitter, thin, or just ‘off’ concentrate that tastes nothing like the smooth, chocolatey elixir from your favorite café. I used to be one of those frustrated home brewers, meticulously following recipes only to pour out batch after batch of liquid regret. I tried different beans, varying grind sizes, and obsessively timed my steeps, but the elusive smooth, naturally sweet cold brew remained a mystery. What I eventually learned, after countless experiments and deep dives into the science of coffee extraction, is that the common advice often misses crucial nuances. It’s not just about the basics; it’s about subtle shifts in technique and understanding the ‘why’ behind each step that truly transform your homemade cold brew from mediocre to magnificent.
Key Takeaways
- The biggest mistake is using hot brew coffee beans and grind size, which leads to over-extraction and bitterness.
- Water quality and temperature during steeping are more critical than most recipes admit for a clean flavor.
- Skipping a two-stage filtration process leaves behind fine sediment, contributing to a muddy taste.
- Your storage method impacts flavor degradation, even for a supposedly stable cold brew concentrate.
The Grind Size and Bean Roast You’re Actually Using (And Why It’s Sabotaging Your Brew)
Most cold brew recipes will tell you to use ‘coarse grounds.’ But ‘coarse’ is relative, and the real culprit isn’t just the size, it’s often the type of coffee you’re using for that grind. In my experience, the biggest mistake people make is grabbing a bag of their regular hot-brew coffee and simply asking for a coarser grind. This rarely works for truly exceptional cold brew.
Here’s the counter-intuitive truth: for cold brew, you need a much coarser grind than you think – closer to breadcrumbs or cracked peppercorns, not just slightly coarser than drip coffee. If you’re using a burr grinder at home, set it to the absolute coarsest setting. If you’re having it ground at a store, specify ‘French press’ grind, but then ask them to go even one step coarser. The goal is to maximize surface area contact with water while minimizing the fines that lead to over-extraction and bitterness, which are far more prevalent in cold water immersion.
Beyond grind size, consider the beans themselves. Many dark roast coffees, popular for their bold flavor in hot brews, contain more bitter compounds (quinic acid lactones) that are amplified in cold water extraction. What works for a robust hot espresso often translates to an acrid cold brew. What changed everything for me was switching to medium-to-light roast beans specifically for cold brew. These roasts retain more of their nuanced, sweet, and fruity notes, which shine beautifully in the cold brew process. Look for descriptors like ‘chocolate,’ ‘caramel,’ ‘nutty,’ or ‘berry’ rather than ‘smoky’ or ‘bold.’ The goal is a delicate balance, not an aggressive punch.
- Actionable Tip: Invest in a dedicated, inexpensive burr grinder for cold brew, even if it’s just for this purpose. Set it to its coarsest setting. Alternatively, request an extra-coarse French press grind at your local roaster, and specify it’s for cold brew. Experiment with a medium roast with inherent sweetness.
The Unsung Hero: Water Quality and Temperature During the Steep
Think about it: water makes up over 98% of your cold brew. Yet, most recipes gloss over water quality, simply stating ‘filtered water.’ This is akin to saying ‘clean ingredients’ without specifying organic or fresh. The type of water you use, and critically, its initial temperature, profoundly impacts the final flavor.
Tap water, even if filtered through a Brita, often contains chlorine, chloramines, and various minerals that can impart off-flavors or hinder optimal extraction. Chlorine, in particular, reacts with coffee compounds to create unpleasant notes. What I found was a dramatic difference when I started using bottled spring water or water filtered through a high-quality carbon block filter (like a reverse osmosis system). This provides a neutral canvas for the coffee flavors to truly develop without interference.
Equally important is the initial water temperature. While it’s called ‘cold brew,’ starting with ice-cold water straight from the fridge is a mistake. Chemical reactions, including flavor extraction, happen faster at slightly warmer temperatures. I learned that using room temperature (around 68-72°F or 20-22°C) filtered water for the initial pour initiates a more complete and balanced extraction. The coffee immediately begins to steep, drawing out more complex flavors. If you start with ice-cold water, the initial extraction is sluggish, and you’ll either end up with a weak brew or need to extend the steep time significantly, risking a different kind of over-extraction later.
- Actionable Tip: Always use high-quality filtered water (bottled spring or reverse osmosis is ideal). Ensure the water is at room temperature before pouring it over your grounds. Let it sit for 15-30 minutes at room temperature before refrigerating to kickstart extraction.
The Dirty Secret: Why Most Filtration Methods Leave You With Muddy Cold Brew
After steeping for 12-24 hours, you’re left with a concentrated coffee slurry. The common advice for filtration is usually to pour it through a fine-mesh sieve or a coffee filter. While this removes the bulk of the grounds, it’s insufficient for achieving that crystal-clear, sediment-free cold brew you crave. This is where most home brewers falter, ending up with a murky, often bitter concentrate that settles with a layer of ‘sludge’ at the bottom of the bottle.
The mistake I see most often is attempting a single, aggressive filtration. This pushes fine particles through the filter, clouding your brew and introducing unwanted bitterness and a gritty mouthfeel. What changed everything for me was adopting a two-stage, gentle filtration process.
- Stage 1: Coarse Strain. First, pour your steeped cold brew through a fine-mesh sieve (the kind you’d use for straining broth) or a colander lined with cheesecloth. This removes the large coffee grounds without compressing them, which could force fines through. Allow it to drain naturally; resist the urge to squeeze the grounds. Patience here is key.
- Stage 2: Fine Filtration. Next, take the liquid from stage one and slowly pour it through a paper coffee filter (a Melitta-style cone filter works well) set in a funnel or dripper. Do not use a French press screen or permanent coffee filter for this stage; the pores are too large. You’ll notice this step takes a while, sometimes an hour or more for a large batch. That’s good! It means the paper is capturing all those microscopic fines that would otherwise make your cold brew bitter and cloudy. If it’s going too slow, it’s usually a sign your initial coarse strain wasn’t fine enough, or your grind was too fine, to begin with.
This two-stage approach ensures a truly clean, smooth, and vibrant cold brew that won’t develop a bitter aftertaste from sediment.
- Actionable Tip: Always use a two-stage filtration: first a fine-mesh sieve (or cheesecloth-lined colander), then a paper coffee filter. Be patient during the second stage; slow filtration is key to removing fines.
The Neglected Afterlife: Storage and Dilution That Preserves (Or Destroys) Flavor
You’ve put in the effort to make a perfect cold brew concentrate. Don’t let your storage and dilution habits undermine it. Cold brew is stable, but not invincible. Many people store it in any old container and then dilute it haphazardly, wondering why the final cup doesn’t quite hit the mark.
Oxidation is the enemy of coffee flavor, even for cold brew. Storing your concentrate in a clean, airtight container in the refrigerator is paramount. Glass jars with tight-fitting lids or swing-top bottles are ideal. Minimize the headspace in the container to reduce air exposure. In my experience, a properly stored cold brew concentrate can maintain peak flavor for 7-10 days, though some might stretch it to two weeks. Beyond that, even if it’s not ‘bad,’ you’ll notice a significant dulling of flavor and a return of subtle bitterness.
Dilution is the other crucial factor. Cold brew concentrate is, well, concentrated. Drinking it straight is often too intense and can taste bitter, even if the concentrate itself is excellent. The standard advice is a 1:1 ratio (one part concentrate to one part water or milk), but this is just a starting point. What changed everything for me was tasting the concentrate first, then gradually diluting to my personal preference. Sometimes, a 1:2 ratio (one part concentrate to two parts water) is perfect, especially if you plan to add ice or milk. The ‘best’ ratio depends entirely on the specific beans you used, your extraction strength, and your personal taste. Don’t be afraid to experiment to find your sweet spot.
- Actionable Tip: Store cold brew concentrate in airtight glass containers, minimizing headspace, and consume within 7-10 days for optimal flavor. Always taste your concentrate first, then dilute incrementally with fresh, filtered water or milk until you achieve your preferred strength and flavor balance.
Frequently Asked Questions
Can I use pre-ground coffee for cold brew?
Yes, but it’s often not ideal. Pre-ground coffee, especially typical grocery store varieties, is usually too fine for cold brew. The finer grind means more surface area and more fines, which leads to over-extraction and bitterness in cold water. If you must use pre-ground, look for brands specifically labeled ‘cold brew’ or ‘French press’ grind, and accept that your results might be slightly murkier or more bitter than if you ground fresh, extra-coarse beans.
What’s the best coffee-to-water ratio for cold brew?
Most commonly recommended ratios range from 1:5 to 1:8 (coffee grounds to water by weight). A 1:8 ratio (e.g., 100g coffee to 800ml water) yields a strong concentrate that you’ll typically dilute 1:1 or 1:2 with water or milk. If you prefer a less concentrated brew, you might try a 1:10 ratio and dilute less. Experimentation is key to finding your preferred strength and intensity, as it also depends on the specific beans and roast level.
How long should I steep cold brew?
Steeping time typically ranges from 12 to 24 hours. A good starting point is 18 hours. Steeping for less than 12 hours might result in a weak, under-extracted brew, while steeping much longer than 24 hours (e.g., 36-48 hours) can lead to over-extraction and bitterness, even with cold water. The ideal time depends on your grind size, coffee-to-water ratio, and desired strength, so it’s worth experimenting in 2-hour increments within the 12-24 hour window.
Can I use hot water to speed up cold brew extraction?
No, not if you’re aiming for true cold brew. While some recipes suggest a ‘hot bloom’ (adding a small amount of hot water to the grounds before adding cold water) to initiate extraction, this alters the flavor profile significantly. The unique characteristic of cold brew – its low acidity and smooth, sweet flavor – comes from the slow, cold extraction process. Hot water immediately extracts different compounds, including more of the bitter acids, which defeats the purpose of making cold brew in the first place.
Why does my cold brew taste sour or watery?
If your cold brew tastes sour, it’s likely under-extracted. This could be due to too coarse a grind, too short a steeping time, or too low a water temperature during the initial phase. If it tastes watery, your concentrate might be too weak (not enough coffee grounds for the amount of water) or you’re over-diluting it. Adjust your coffee-to-water ratio to be stronger, or reduce your dilution ratio, and ensure proper steeping time and temperature.
In my journey from bitter brews to velvety smooth perfection, I discovered that homemade cold brew is an art form with a few scientific secrets. It’s not about complexity, but about intentionality in each step. By paying attention to the right beans, the correct coarse grind, superior water quality, a gentle two-stage filtration, and mindful storage, you can stop settling for subpar cold brew. Your mornings (and your palate) will thank you. Go forth and brew the cold brew you truly deserve!
Written by Chloe Davies
Home & Practical Skills
A creative professional, Chloe brings a practical eye to topics like home organization, simple living, and managing side hustles.
You Might Also Like
Why Your Homemade Soup Is Bland (And The Flavor Secrets That Changed Everything For Me)
Discover why your homemade soups lack flavor and the specific, actionable techniques that transformed my cooking, delivering restaurant-quality taste.
Why Your DIY Plant Food Fails Most People (And What Actually Works for Thriving Plants)
Discover why common DIY plant food recipes fall short and learn the targeted, effective strategies that guarantee flourishing indoor plants.

Why Passive-Aggressive Communication Undermines You (And How to Finally Master Directness)
Passive aggression feels like a safe option, but it sabotages relationships. Learn how to master direct communication and build trust.